Most campfire meals fail the same way: charred outside, raw inside, cooked over leaping flames by someone in a hurry. Flames are unpredictable and mostly heat air. Coals are steady, radiant, and behave like a stovetop you can read.
Learn to build and manage a coal bed and campfire cooking becomes as controllable as a kitchen — slower, smokier, and considerably better.
Build a coal bed, not a bonfire
Start your fire forty-five minutes to an hour before you want to cook. Hardwoods — oak, hickory, maple — produce dense, long-lasting coals; softwoods like pine burn fast, spit sparks, and leave little behind. Burn down until you have a bed of glowing embers three or four inches deep with only occasional flame.
Keep a small feeder fire burning off to one side. As the cooking bed cools, rake fresh coals over from the feeder rather than dropping new logs into your cooking area and starting over.
- ›Hold your palm about eight inches above the coals: 2–3 seconds before it's too hot is high heat, 5–7 seconds is medium, 8–10 is low.
- ›Rake coals into a thicker pile on one side and thinner on the other to create heat zones.
- ›A pair of long tongs and a small shovel are the two most useful fire-cooking tools.
Choose your cooking method
A grill grate over coals is the most direct approach and handles anything you'd put on a backyard grill. A cast iron skillet set directly on coals gives you a proper searing surface and handles eggs, hash, and anything that would fall through a grate.
A Dutch oven with coals both underneath and on the lid becomes an actual oven — bread, cobbler, braises, chili. Foil packets are the lowest-effort method: protein, chopped vegetables, fat, and seasoning sealed in a double layer and buried at the edge of the coals for fifteen to twenty-five minutes.

- ›Dutch oven rule of thumb: for 350°F, use twice the oven's diameter in briquettes — roughly two-thirds on the lid, one-third underneath.
- ›Double-wrap foil packets and leave air space so steam can circulate.
- ›Rotate Dutch ovens and their lids a quarter turn every fifteen minutes to prevent hot spots.
Prep at home to cook well in camp
Every minute of chopping done at your kitchen counter is a minute you're not doing it in the dark with a headlamp and a dull knife. Dice onions and peppers, marinate proteins, pre-mix dry ingredients for pancakes or cornbread, and freeze the first night's meal solid so it doubles as a cooler ice block.
Pack food in the order you'll eat it, with the first night's dinner on top. Label everything. A well-organized food bin turns camp cooking from a chore into the best part of the evening.
- ›Pre-crack and pre-scramble eggs into a sealed bottle — no shells, no breakage.
- ›Freeze meals flat in bags so they thaw evenly and stack tightly.
- ›Bring twice the paper towels you think you need.
Manage food safety without a refrigerator
Raw meat goes in the bottom of the cooler in a sealed container so nothing drips onto ready-to-eat food. Keep the cooler below 40°F, which means block ice rather than cubes and a cooler that stays closed. Use a cheap thermometer rather than guessing.
Cook poultry to 165°F, ground meat to 160°F, and whole cuts to 145°F. Firelight makes color a terrible doneness indicator, so bring an instant-read thermometer — it's two ounces and prevents the classic camping food poisoning story.
- ›Use separate cutting boards, or one board with a designated raw side.
- ›Plan meat for the first two nights, then shelf-stable meals after that.
- ›Wash hands with real soap well away from any water source.
Clean up properly
Scrape plates thoroughly and pack out food scraps — they don't decompose quickly and they train wildlife. Wash with biodegradable soap in a basin, at least 200 feet from any lake or stream.
Strain the greywater, pack out the solids, and scatter the water widely across durable ground. Cast iron gets a scrape and a hot-water rinse, never soap and never a long soak; dry it over the fire and wipe a thin film of oil while it's still warm.

- ›Two basins — wash and rinse — uses less water than running rinses.
- ›A scrap of chainmail is the best cast iron scrubber there is.
- ›Do dishes immediately after eating, before food dries and before dark.
Recommended campfire cooking gear on Amazon
Live Amazon searches for the cookware that actually survives fire cooking.
As an Amazon Associate we earn from qualifying purchases. DisclosureCampTraffic is a participant in the Amazon Services LLC Associates Program, an affiliate advertising program designed to provide a means for sites to earn advertising fees by advertising and linking to Amazon.com.
Camp Dutch ovens
Most versatileFooted cast iron with a flanged lid — bread, cobbler, and braises over coals.
Cast iron skillets
Best all-rounderSits straight on the coals, holds heat evenly, and outlives everything else in your kit.
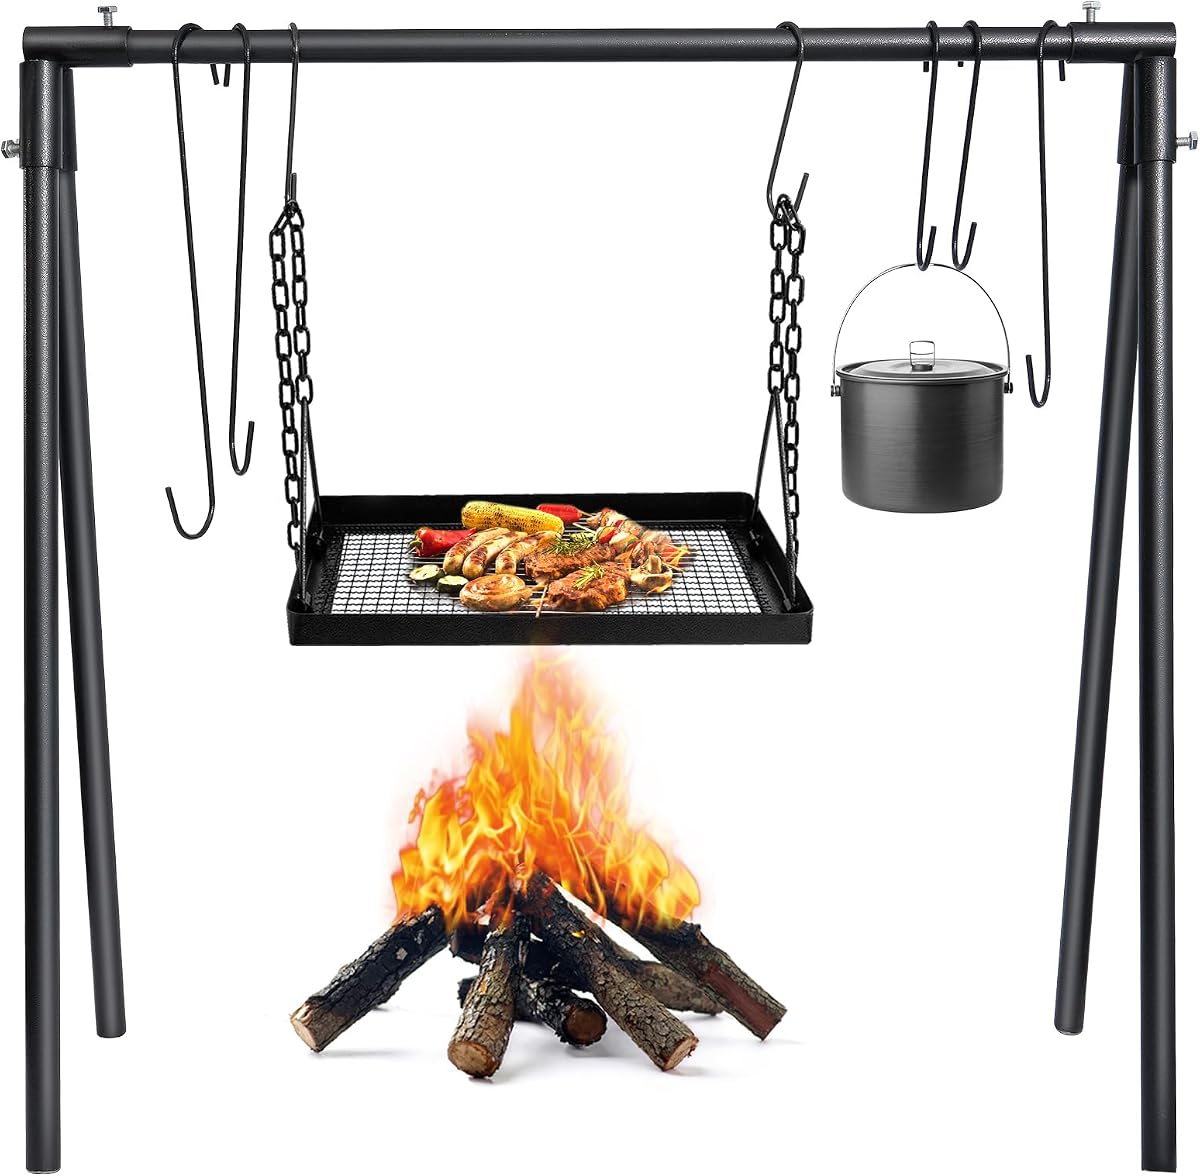
Campfire grill grates & tripods
Best heat controlTurns any fire ring into a grill, with adjustable height for real heat control.
Long-handled tongs & fire tools
SafestRaking coals and flipping food at arm's length instead of eyebrow's length.
Instant-read thermometers
EssentialFirelight hides doneness. Two ounces of thermometer prevents the classic camping story.
Frequently asked questions
How long before cooking should I start the fire?+
About 45 minutes to an hour. You want a deep bed of glowing coals, not flames.
What wood is best for cooking?+
Hardwoods — oak, hickory, maple, fruit woods. They burn down to dense, long-lasting coals. Avoid pine and other resinous softwoods, and never burn treated or painted wood.
Can I use regular cookware over a fire?+
Cast iron and stainless handle it fine. Nonstick coatings break down at fire temperatures and thin aluminum warps. Expect permanent soot on the outside of anything.
How do I keep food from burning?+
Cook over coals rather than flames, build a two-zone fire so you can move food to lower heat, and raise your grate. Distance from the coals is your temperature dial.